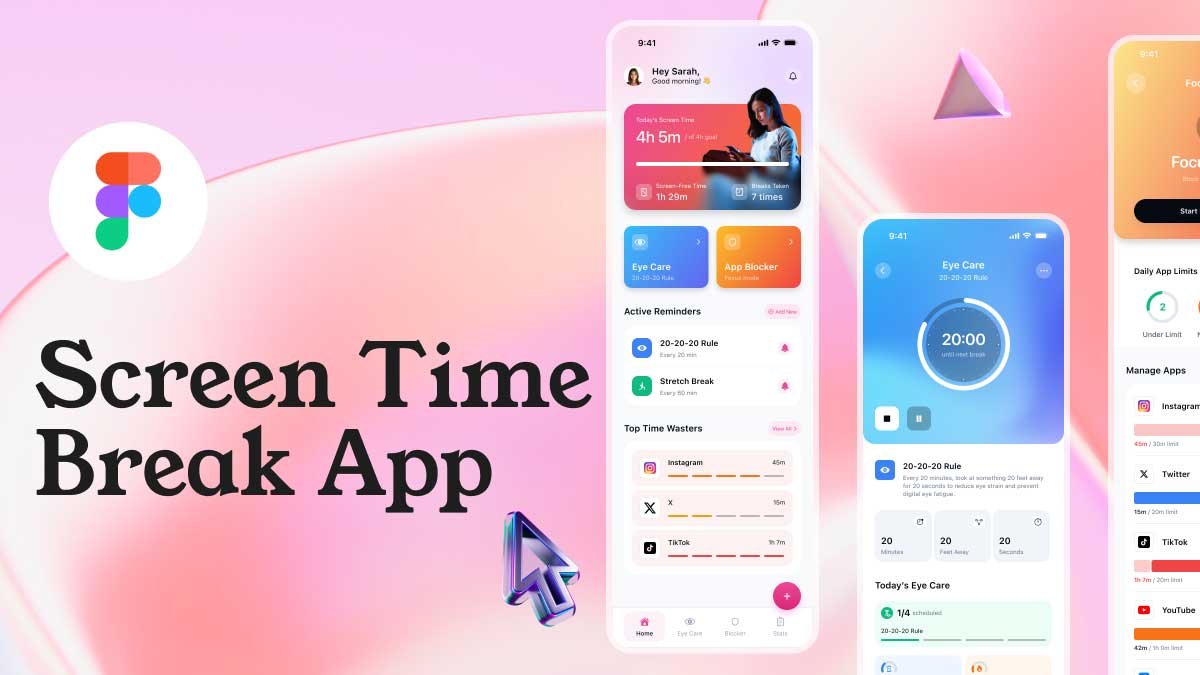
In today’s fast-paced digital world, having a responsive and visually appealing website is crucial. For web designers, knowing how to turn designs into functional websites is just as important as creating great designs. If you’re a beginner looking to learn the art of web design, this Figma to Webflow step-by-step guide is a perfect place to start.
In this comprehensive Web Design for Beginners Course 2025, you will learn how to take your design from Figma, a powerful design tool, and turn it into a fully functional and interactive landing page in Webflow. This step-by-step guide will help you master the entire process, from designing in Figma to building in Webflow and making your landing page responsive across all devices.
To learn Figma, UI/UX design, web design, mobile app ui design, responsive design, no-code development, and AI-powered tools, and to download premium quality UI kits, Check out my YouTube channel (@uixDesignAcademy) for simple and easy beginner tutorials!
Why Figma to Webflow?
Figma is a popular design tool that allows you to create stunning visuals and user interfaces. It’s widely used by designers for its easy collaboration, vector editing tools, and real-time feedback system. On the other hand, Webflow is a powerful no-code platform that allows you to build responsive websites visually. It’s the perfect platform to bring your Figma designs to life without needing to write any code.
By learning the Figma to Webflow workflow, you’ll be able to create visually stunning and fully functional websites without the need for coding. You’ll also be able to design websites that are responsive, meaning they work seamlessly across all devices, including desktop, tablet, and mobile.
Your landing page could be live in under an hour – Claim your free Webflow account now!
Getting Started with Figma
Before you start building your landing page in Webflow, you need to design it first. Figma Webflow is an excellent tool for designing websites because it allows you to create high-fidelity designs quickly and collaborate easily with other team members.
In the first part of this course, you will learn how to design your landing page in Figma. Here’s a brief overview of the key steps involved:
Set Up Your Design Canvas:
Figma allows you to set up frames (artboards) for different screen sizes. The first step in your design process is to create frames for desktop, tablet, and mobile views to ensure your landing page will be responsive across all devices.
Design the Layout:
Start designing the layout of your landing page. This includes adding sections such as the header, hero section, services, testimonials, and footer. Use Figma’s powerful tools to create these sections with precise control over the design elements.
Design Interactive Elements:
In Figma, you can create interactive elements like buttons and hover states, which will be replicated in Webflow later. You can also experiment with transitions and animations within Figma to get a sense of how the page will feel.
Prepare Assets for Export:
Once your design is ready, you will export the assets (images, logos, icons) that you will need for the Webflow build.
Moving from Figma to Webflow
After you have designed your landing page in Figma, the next step is to bring it into Webflow. This is where the real magic happens – turning your static design into a responsive, interactive website.
Step 1: Set Up Your Webflow figma Project
The first thing you’ll need to do is create a new Webflow project. Once your project is set up, Webflow provides you with a canvas that works similarly to Figma, allowing you to build your site by dragging and dropping elements into place.
Step 2: Building the Layout
Just like you did in Figma, you will start by building the structure of your landing page in Webflow. Using Webflow’s flexbox and grid layouts, you can create responsive sections that adjust based on the screen size. You’ll start by replicating your Figma design, adding containers for the header, main content, and footer.
Step 3: Adding Styles
In Webflow, you can apply styles like colors, fonts, and spacing, much like you did in Figma. However, the key difference is that Webflow allows you to add styles in real-time, which will reflect immediately on the actual website. You’ll apply the same design principles you used in Figma, adjusting for the web environment.
Step 4: Making Your Landing Page Responsive
One of the most important aspects of modern web design is ensuring that your site works well on all devices. Webflow’s powerful responsive design features let you tweak how your website looks on desktop, tablet, and mobile. You can adjust fonts, margins, padding, and rearrange elements to make sure everything looks great on all screen sizes.
Step 5: Adding Interactivity
To take your design to the next level, you can add interactive elements in Webflow. These could include hover effects, transitions, or animations for buttons and images. Webflow provides an easy interface for creating interactions without needing to write a single line of code. You can add smooth transitions to buttons when users hover over them, create scroll animations, and even build multi-step interactions.
For example, if you designed a button with a hover effect in Figma, you can easily recreate that in Webflow by applying the same animation or transition. This ensures that your landing page not only looks great but also provides a seamless experience for the user.
Step 6: Publish Your Landing Page
Once you’ve built your landing page and made sure it’s responsive and interactive, the final step is to publish it. Webflow allows you to publish your website directly to the web or export the code for use elsewhere. The platform also offers hosting services with fast load times, ensuring that your site performs well for users.
From Figma to Webflow
This Figma to Webflow course for beginners is a complete guide to web design in 2025. By following this step-by-step process, you will learn how to design a landing page in Figma and then build it in Webflow, making it responsive and interactive. Whether you’re just starting with web design or looking to level up your skills, this tutorial will help you go from a simple design to a fully functioning website in no time.
With Figma’s design power and Webflow’s no-code flexibility, creating beautiful, responsive, and interactive websites has never been easier. By the end of this Figma to Webflow course, you will have all the skills you need to design and build stunning landing pages that work across all breakpoints and provide users with a seamless experience.
Interested in 100 days – daily ui design challenge series?